






















Setting up a home photo studio
Do you dream of creating your own home photo studio? Whether it’s for portrait photography, product photography or floor-level shots, it’s perfectly possible to set up a homemade photo studio while aiming for professional quality.
With a minimum of space, well-chosen equipment and a structured approach, you can transform any room into a real photographic environment.
The aim of this practical guide is to give you all the advice you need to set up your own home studio. Choose the photo equipment and accessories best suited to your needs, whether you’re an enlightened amateur photographer or a professional looking for flexibility.
Table of contents
1. Why set up a home photo studio?
Setting up a photo studio at home significantly reduces the cost of renting a dedicated space, which is a major financial advantage, especially if you do a lot of shoots.
It also offers great flexibility in scheduling, allowing you to organize your sessions according to your availability, without external constraints.
Having your own studio also fosters a more relaxed atmosphere than in a large professional studio, making it easier to interact with your models.
2. How much space do I need to set up my home photo studio?
Choosing the ideal space
The space you need to set up your studio will depend mainly on how you intend to use it. Whether you’re shooting portraits or pack shots, the space you need will be different.
For portrait or floor-level photography, you’ll need a room with a good back-up (ideally 3 to 5 meters), so you can position your subject and lights correctly, without distortion from short focal lengths. A sufficiently high ceiling (at least 2.5 m) is also an asset for managing light and shadows.
Conversely, for packshots, a smaller space may suffice. A stable work surface, a neutral background and good, controlled lighting can already deliver professional results, even in a small office corner or dedicated table.
Adapting natural lighting
Ideally, choose a space with a window. Natural light is an invaluable source for softening your photos and varying the mood. Properly managed, it can create subtle effects on your model or subjects, while avoiding overly harsh light.
It can also provide a continuous light base that can be complemented with LED lamps or flashes, depending on the desired effect.
A well-mastered natural light source can thus enhance the quality of your photos, adding naturalness and flexibility to your artificial lighting setups.
3. Essential equipment for a home photo studio
Creating a home photo studio requires a minimum investment, but it’s entirely possible to put together an effective setup at a reasonable price. The equipment you need will depend on the function of your studio.
Certain basic equipment and accessories remain indispensable for most photographers: a suitable lighting system, paper backgrounds for working with clean, modular backgrounds, as well as useful accessories for shaping the light or stabilizing your equipment.
Camera
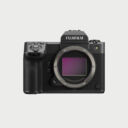
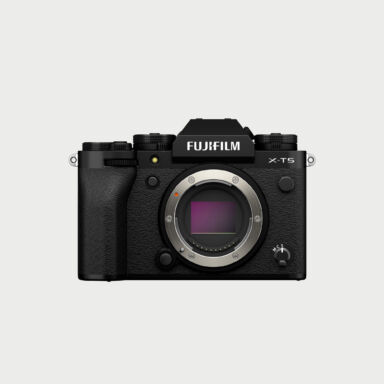
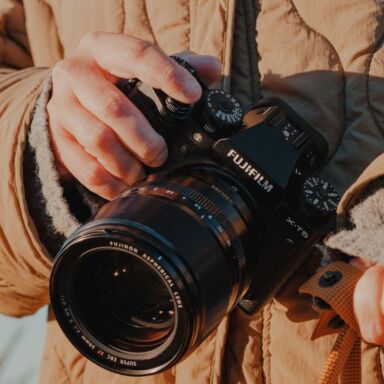
The camera is obviously at the heart of your studio. A hybrid with an APS-C or full-frame sensor will offer good image quality and sufficient flexibility for studio use. Choose a model compatible with remote triggering and tethering, so you can view your images in real time on a larger screen. And don’t forget to opt for a lens that’s compatible with the photographic style you want to achieve.
Tripods and grips
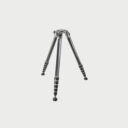
A stable tripod is an essential piece of equipment for any home studio. It guarantees precise composition by stabilizing the camera, thus preventing camera shake, especially when shooting with long exposure times or in low light. What’s more, the complementary grips make it easy to handle and position your setup quickly, optimizing your efficiency in the studio.
Lighting system
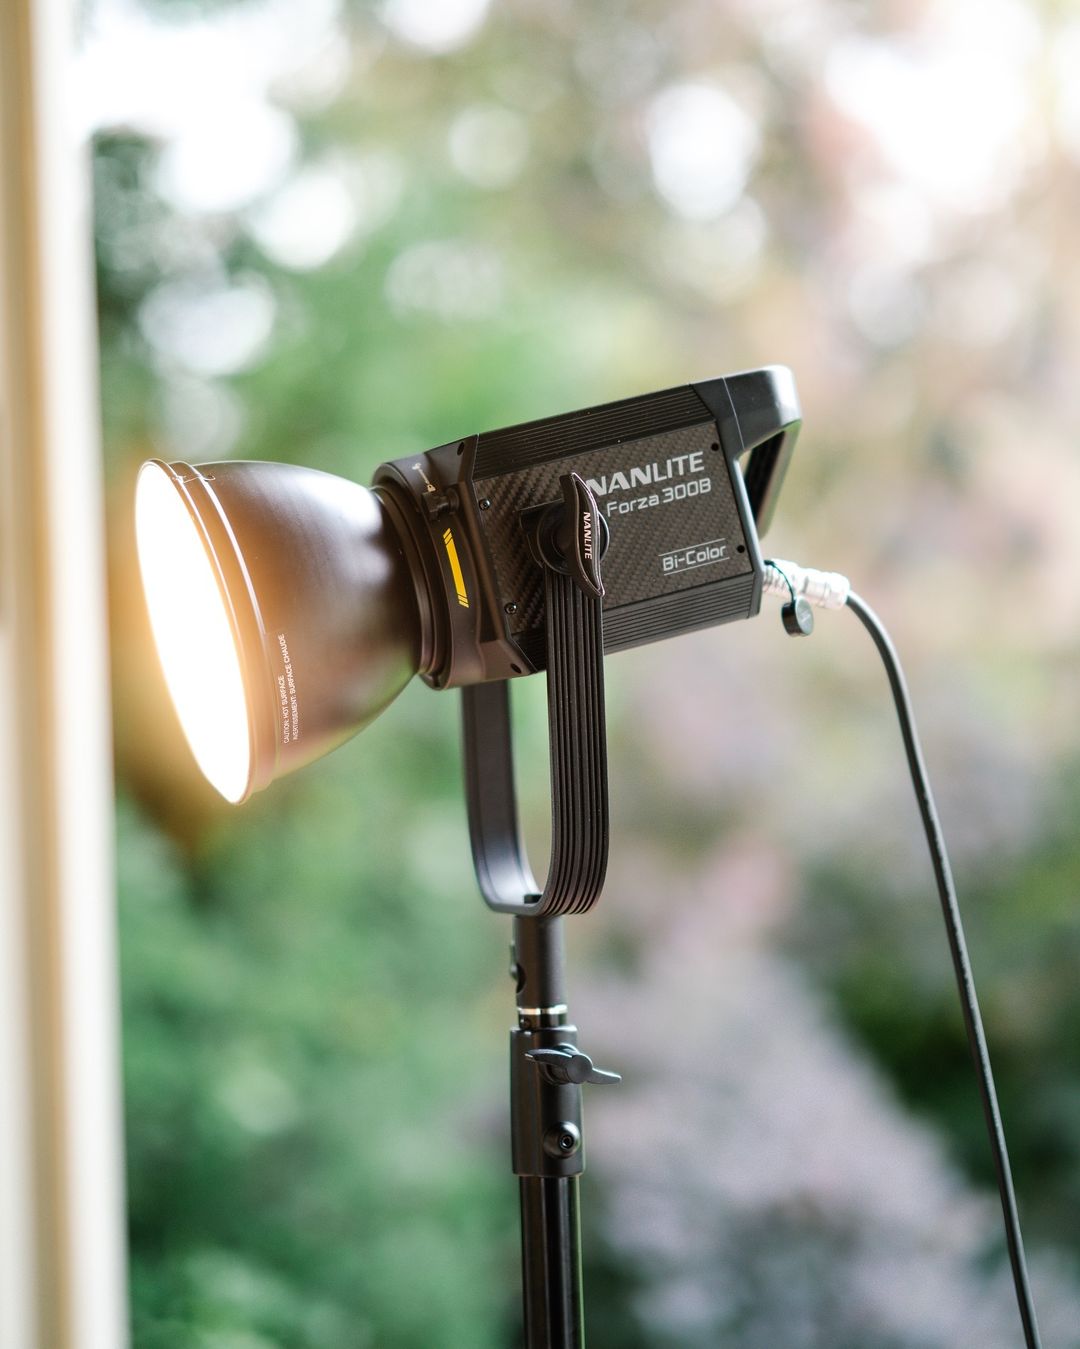
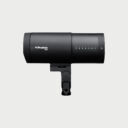
Lighting is a key element for successful studio shoots. Professional lighting systems, whether based on flash or continuous LED lighting, offer precise control of light, essential for shaping your subjects and creating the desired mood.
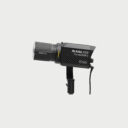
They allow you to manage the intensity, direction and quality of light, while ensuring lighting consistency throughout the entire session. You can choose between monobloc strobes or on-camera flashes to be placed directly on your camera. Torches are available in kit or single models, depending on the power and light source you need.
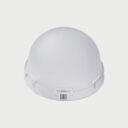
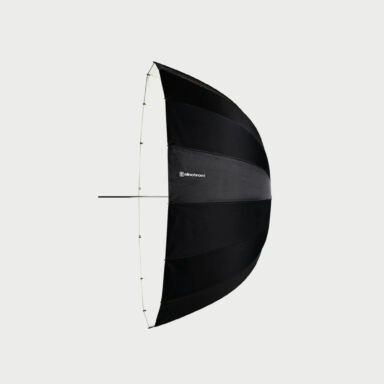
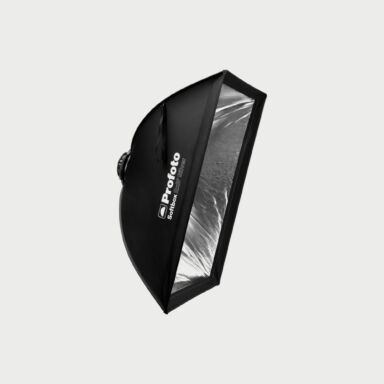
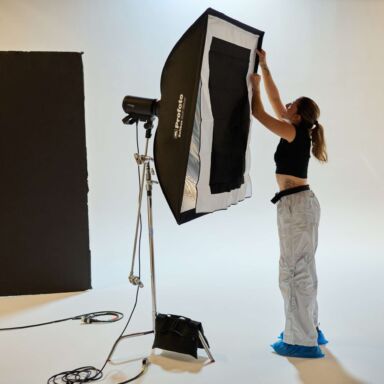
You should also consider acquiring light shapers, such as softboxes, umbrellas, reflectors or other diffusers, which allow you to shape the light and obtain different results to suit the needs of the photo shoot.
Accessories and storage
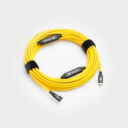
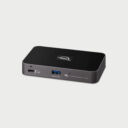
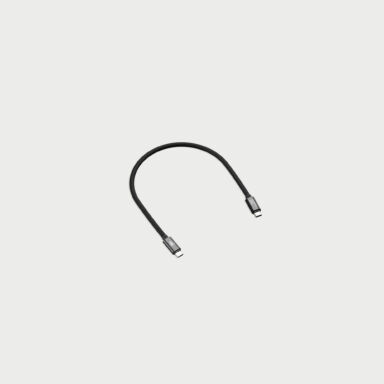
Accessories are often underestimated, yet they play a crucial role in ensuring an efficient workflow in your photo studio. Spare batteries, extra memory cards, tethering cables and reliable hard disks are essential for smooth, fast operation. These elements facilitate the management of your shots and secure your data, which is essential for a professional organization.
4. Paper background selection and installation
Now we come to another essential element in the creation of your home photo studio: the choice of background and its installation.
The background plays a key role in the visual quality of your images, providing a neutral, coherent or creative base, depending on the desired effect. It’s therefore important to select the right type of background for your purpose, and to set up a practical, stable system for easy day-to-day use.
Colors and backgrounds
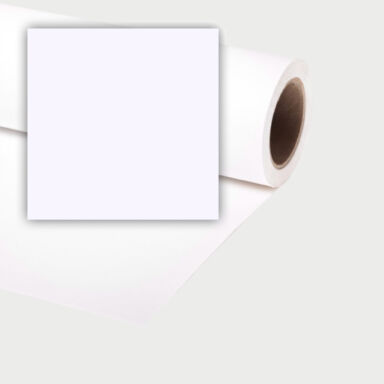
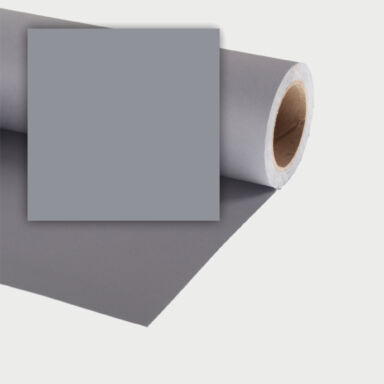
Although fabric studio backgrounds are available, we recommend that you opt for paper backgrounds, as they are easier to use and offer a sharper rendering on your photos. Choose a plain background, white being the most classic and versatile color. However, there’s nothing to stop you from choosing different colors that will add a distinctive touch depending on the photo project you have in mind.
Background support
When it comes to supporting your paper backgrounds, several systems are available to enable you to install your backgrounds quickly and easily at home, without too much difficulty.
Among the options available are kits with tripods and crossbar, very practical for occasional or mobile use, but also more permanent wall or ceiling systems, ideal for a home studio.
These devices offer great flexibility while guaranteeing a secure hold for your backing rolls, whatever their width.
Organization and storage
Good organization of your workspace is essential to maintaining an efficient studio workflow. Provide clearly defined areas for each piece of equipment: cameras, lenses, lighting, cables, etc. The use of mobile storage units is particularly useful for keeping your equipment close at hand and moving it around easily.
5. Photo studio set-up: Our selection
Now that we’ve reviewed all the photo equipment you’ll need to set up your home photo studio, let’s take a look at our selection of equipment, including backgrounds, tripods, a quick and easy-to-install background system, and various useful accessories to set up your home mini-studio efficiently.
Which support for my studio?
First of all, we recommend Colorama paper backgrounds. These rolls can be easily unrolled, rolled up, and even cut to size if a part is too damaged. They are available in a wide variety of colors.
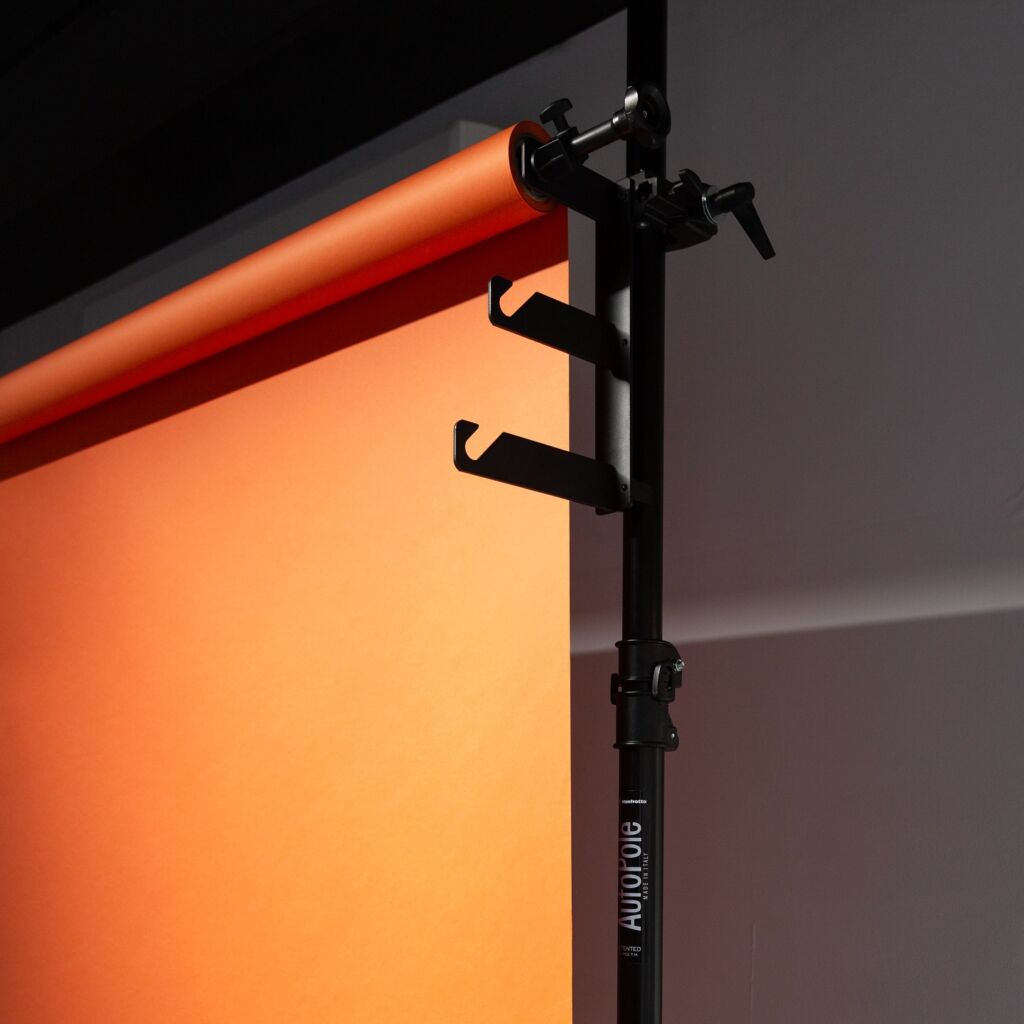
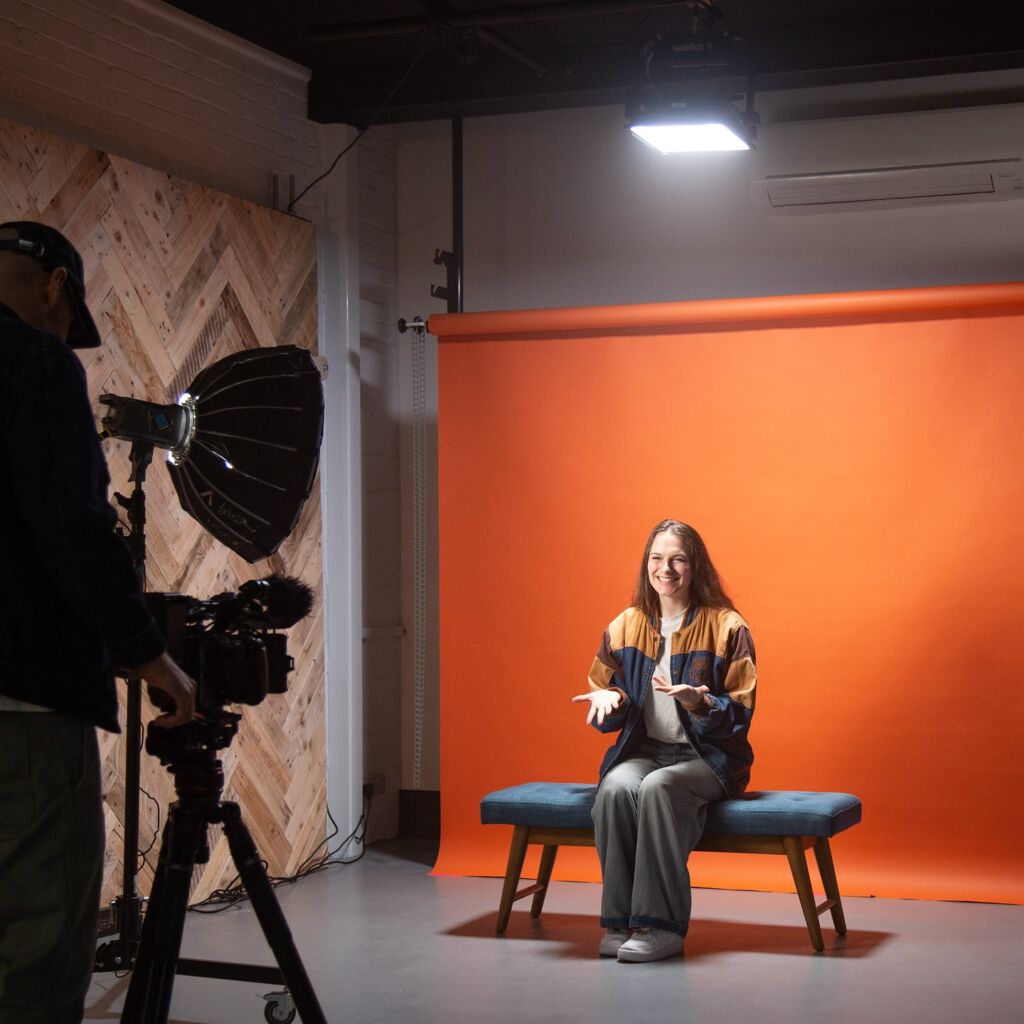
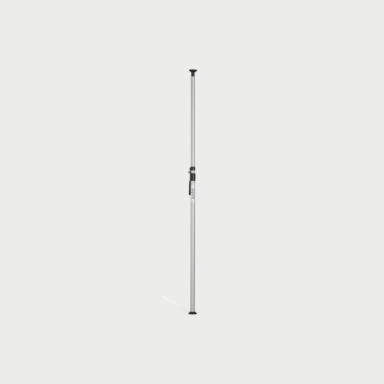
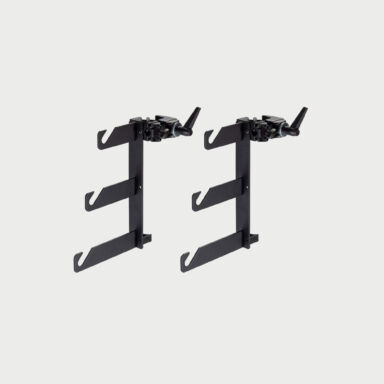
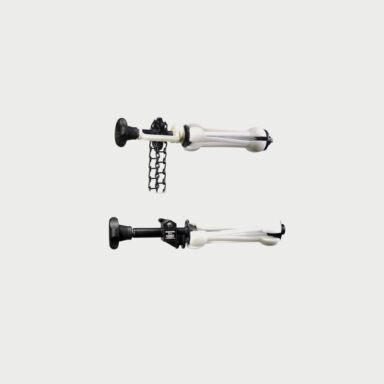
When it comes to studio background support, if you have the space, you can combine two Autopoles with a pair of Triple Background Paper Hooks and Manfrotto’s Expan support system. This configuration will enable you to set up your semi-permanent studio background quickly, stably and professionally.
Which tripod should I use?
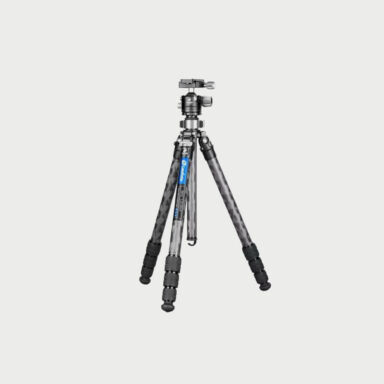
When it comes to tripods, several brands on the market, such as Leofoto or Manfrotto, offer models that are easy to transport, compact yet sturdy. For example, Manfrotto’s 055 and 190 tripods. There’s a wide range of tripods, so it’s up to you to choose the one that best suits your needs.
Which lighting system to use?
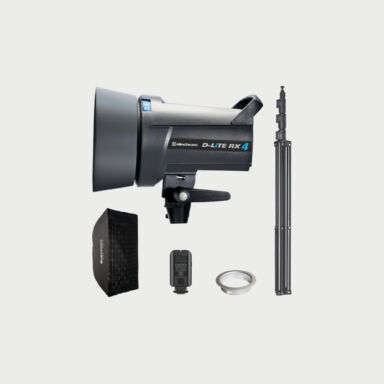
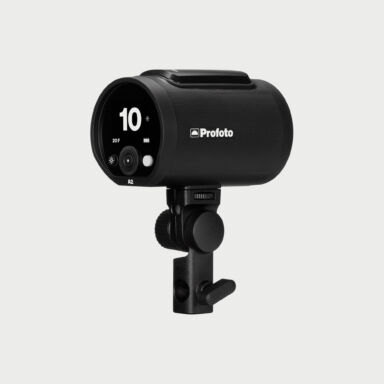
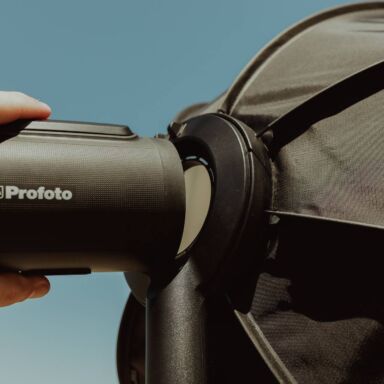
For flashes and light modifiers, the best-known brands are Profoto and Broncolor, appreciated for their reliability and the quality of their light.
If you’re looking for a more affordable solution with good performance, you can also turn to Elinchrom or Godox, which offer good value for money.
What accessories do I need for my home photo studio?
Finally, for accessories, you’ll find SD cards and card readers at Angelbird, and cables of various types at COBRAUNION.
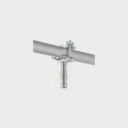
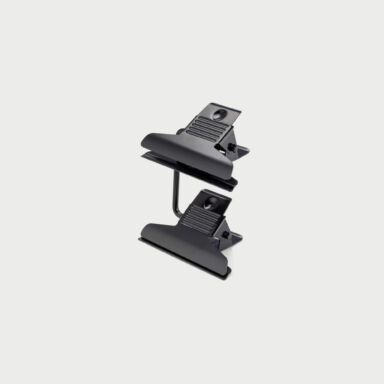
And don’t forget accessories to support your backgrounds, such as clamps and other fasteners.
6. Practical tips for optimizing home shoots
Once you’ve set up your studio, a few best practices will help you work more efficiently and get the most out of your setup, whatever the type of shoot you’re planning.
Take care of the framing by scouting ahead of time
Before starting the session, take the time to analyze your space: available angles, possible depth of field, incidence of light, etc. Mark the positions of camera and subject on the floor if necessary. If necessary, mark the positions of the camera and subject on the ground. This will save you time during the shoot and ensure consistency in your framing.
Prepare your settings in advance
Configure your camera, lights and accessories before the customer arrives or before the product is set up. Test light intensities, color temperatures, as well as ISO, aperture and shutter speed settings. This preparation reduces downtime and avoids emergency adjustments.
Use an external display or tethering
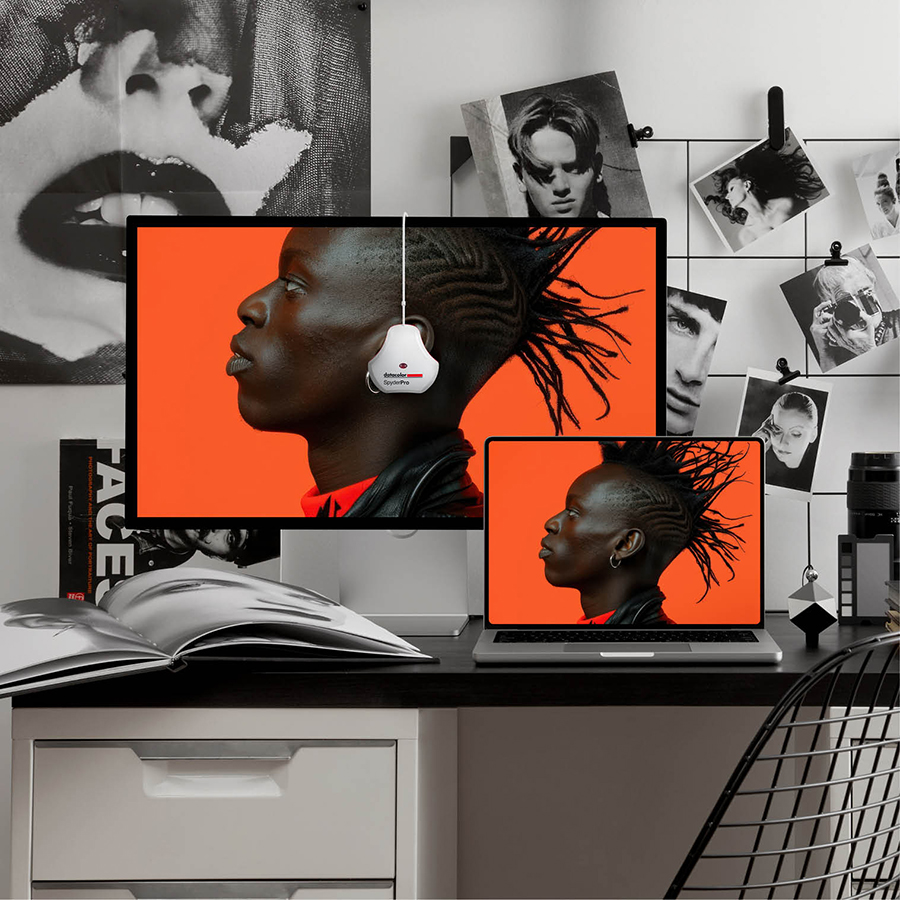
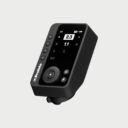
Working with tethering (connected shooting) allows you to view your images directly on a larger screen, often via a laptop or tablet. This makes it easier to assess sharpness, exposure, framing and detail. A real time-saver, especially for product shoots or portrait photography.
7. Setting up your own photo studio
Setting up a photo studio at home requires a certain investment in equipment and organization, but with the right equipment, it’s perfectly possible to set up a functional and professional mini studio. Whether it’s the selection of cameras, backgrounds, tripods or accessories, each element contributes to the quality of your shots.
If you need personalized advice or help choosing the equipment best suited to your needs, don’t hesitate to contact us. Our team is at your disposal to help you set up your home photo studio.