

































Wedding photography demands responsiveness, creativity and a good command of light. It’s all about capturing the moment and sublimating the couple and their guests through unique shots, whatever the conditions.
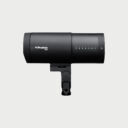
In this article, we suggest different lighting set-ups with the Profoto A10, a compact and powerful flash that offers the necessary flexibility. You’ll also find some practical tips for wedding photography, to ensure a smooth workflow and successful images.
Table of contents
The importance of light in wedding photography
Lighting is a key element in successful wedding photography. For group shots, it must be uniform to bring out the best in each face. For portraits of the couple, well-controlled lighting highlights expressions and details. Whether outdoors in daylight or indoors in dim light, adapting your lighting is essential to obtaining sharp, balanced images.
Choosing the right equipment
Choose a cobra flash
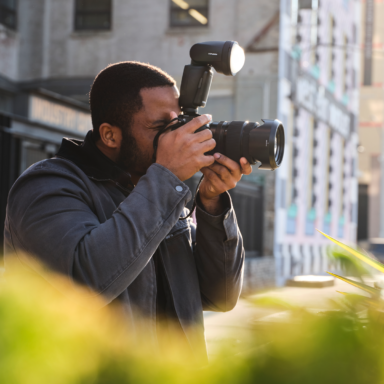
A cobra flash with a swivel head is an indispensable wedding accessory. Difficult lighting conditions are common, whether at the town hall or the church, and natural lighting isn’t always enough. An external flash will also help you to shoot faster, avoid blur caused by low speeds, and keep your shots consistent.
Unlike a camera’s built-in flash, it offers more power, better control and more natural light when used properly. It’s also a versatile tool: it can be mounted on the camera, used remotely, or combined with modifiers to create different renderings. In wedding photography, this flexibility is invaluable as conditions are constantly changing.
By investing in a quality cobra, you can be sure of always having a reliable solution to the day’s lighting contingencies.
Choose the right camera
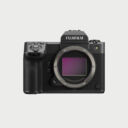
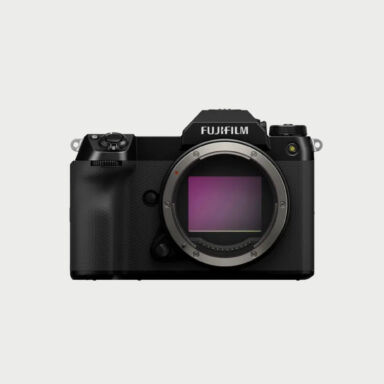
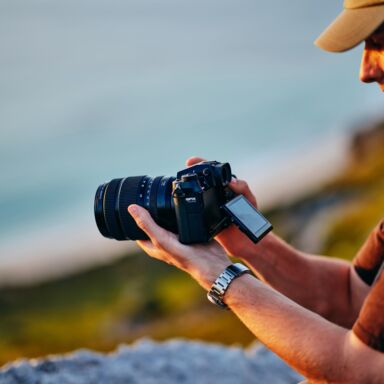
Choosing the right camera is essential, but more than the model itself, it’s the control you have over it that counts. A wedding is not the time to discover a new camera: you need to know your settings without thinking, and be able to react immediately.
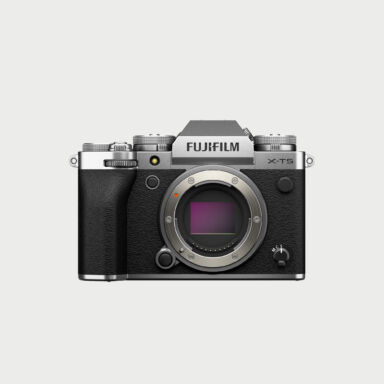
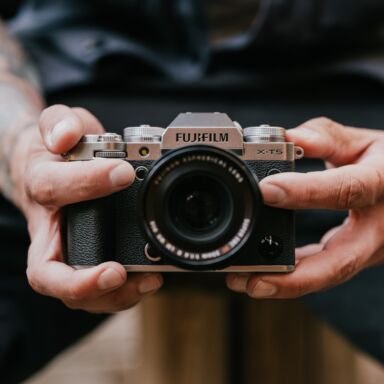
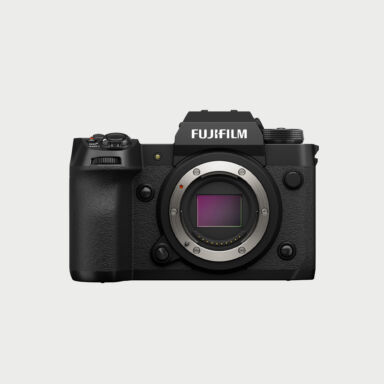
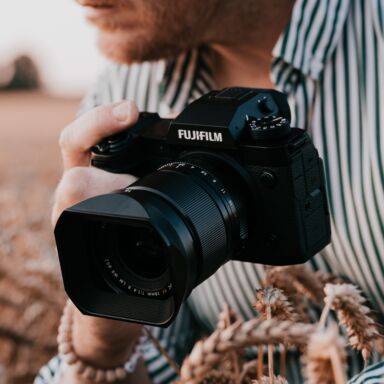
A second camera is also essential. It protects you in the event of a breakdown and allows you to quickly alternate between two focal lengths. Renting can be a good option, often affordable for a day. Choose a model from the same brand as your main camera, to keep ergonomics close. Another solution is to buy two identical used cameras, which are both reliable and economical.
Putting together a lens kit for wedding photography
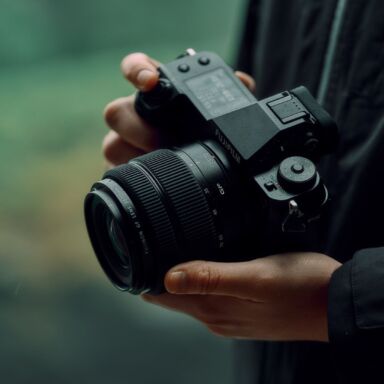
As with your camera body, choose lenses you know well. The habits you’ve developed with a focal length will save you time and reduce mistakes. You’ll instinctively know how to compose, anticipate depth-of-field and avoid the pitfalls of distortion.
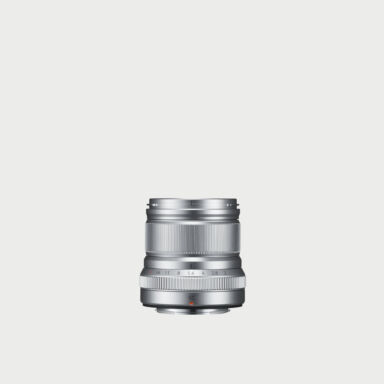
For example, a 50mm remains a safe bet for portraits: at f/4, the depth of field is sufficient to keep several faces in focus, unlike at larger apertures where the zone of sharpness becomes too narrow. A 35mm is ideal for preparatory scenes or for capturing the atmosphere without being too far from the subject. The tighter 85mm equivalent works very well for isolating the couple or for portraits with a nice background blur.
By combining two focal lengths, you already cover a large part of your needs: for example, 35mm + 85mm, or 24mm + 50mm, depending on your preferences. If you prefer to limit your equipment, a 24-70mm f/2.8 zoom remains the most versatile choice, capable of handling the majority of wedding shooting situations.
Why is the Profoto A10 suitable for wedding photography?
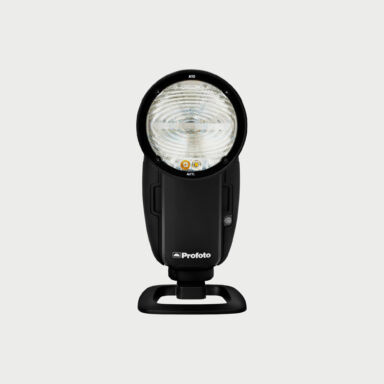
The Profoto A10 is particularly well suited to wedding photography, thanks to its ease of use, quality of light and compatibility with the entire Profoto system. Its clear interface, quick settings and TTL mode save time in unpredictable situations, a precious asset when every second counts.
In terms of rendering, it produces soft, even light that can be fine-tuned with compact modellers to maintain a natural look, whether for couple portraits, group photos or reception coverage.
Finally, the A10 integrates easily into the Profoto ecosystem: combined with AirTTL or Connect Pro, it can be used remotely and combined with other sources such as the B10 or B1X, offering great flexibility to adapt to every moment of the wedding.
6 practical lighting set-ups for successful wedding photos
Discover how award-winning wedding photographer Michael Anthony uses the Profoto A10 to create six different lighting setups.
1. Photo of wedding rings
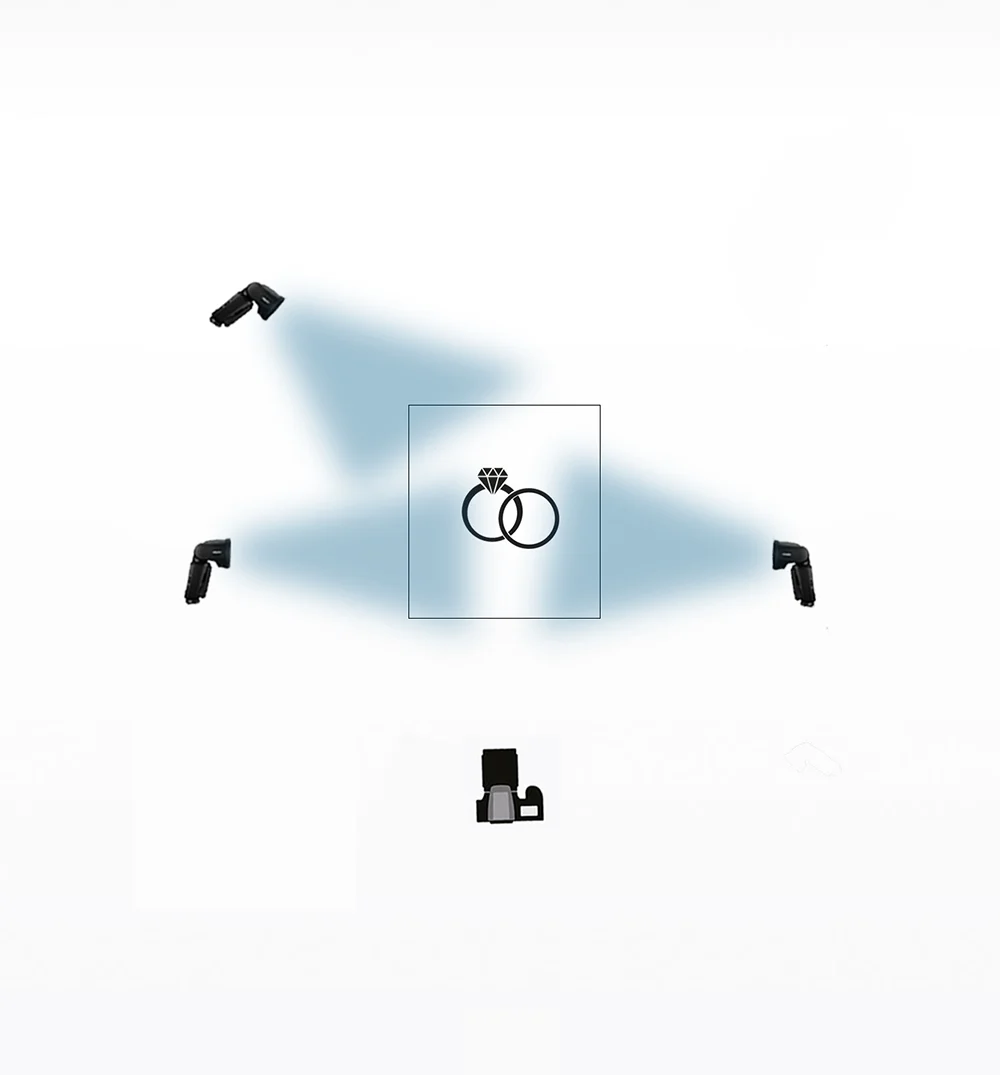
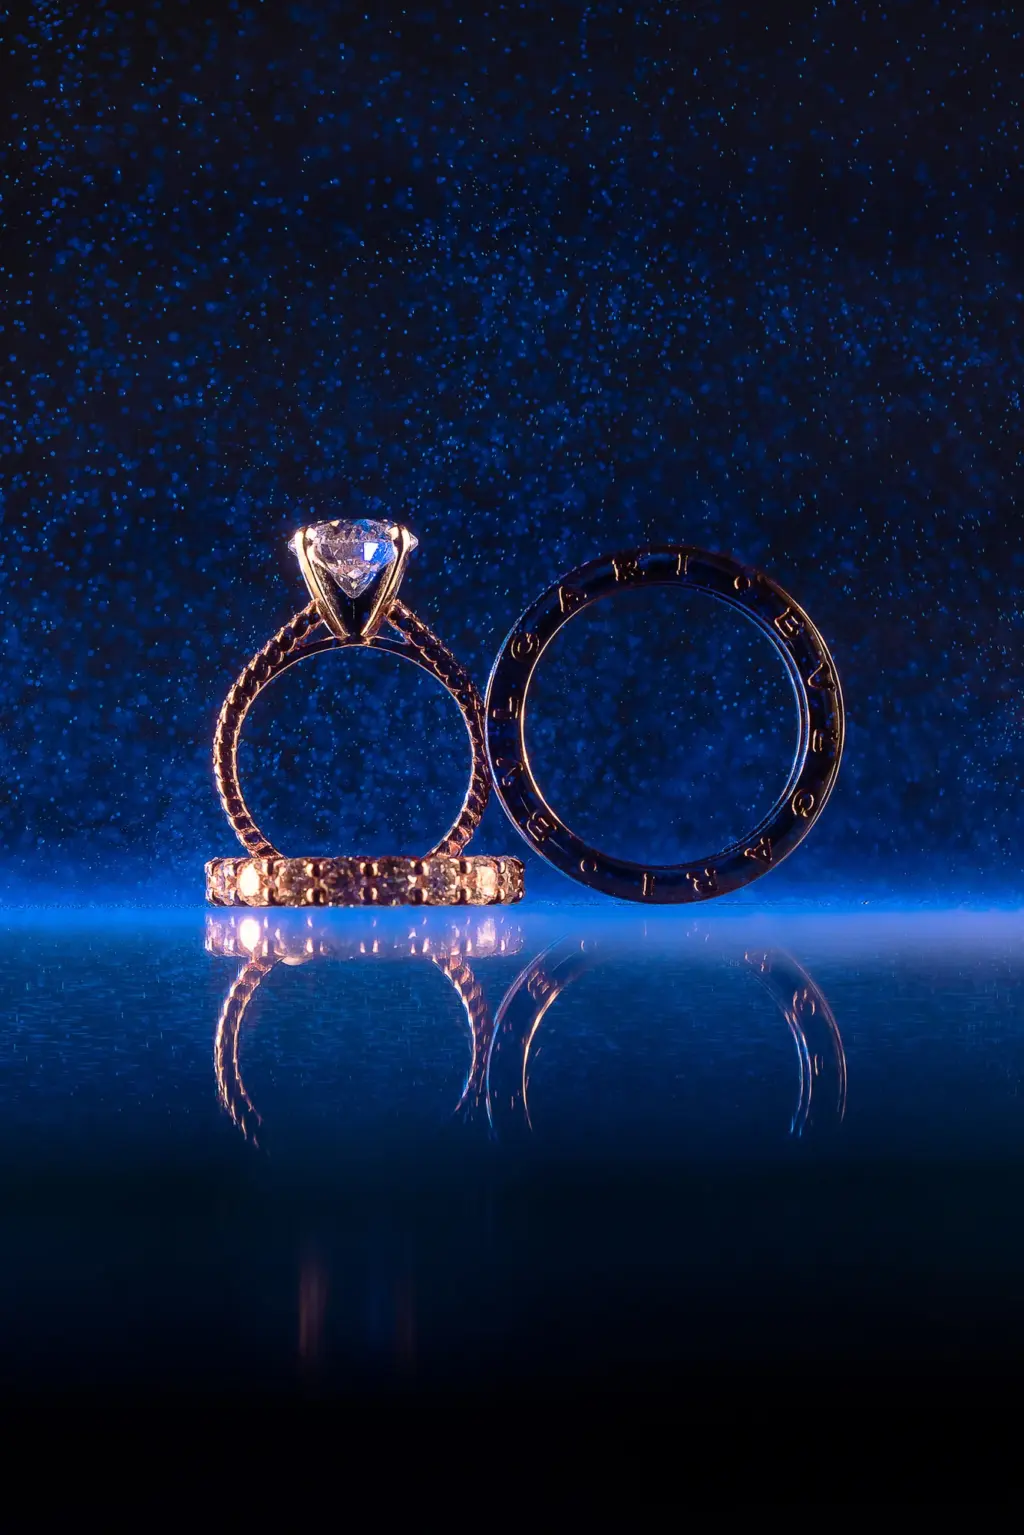
Step 1. Start by placing the wedding rings on a reflective surface.
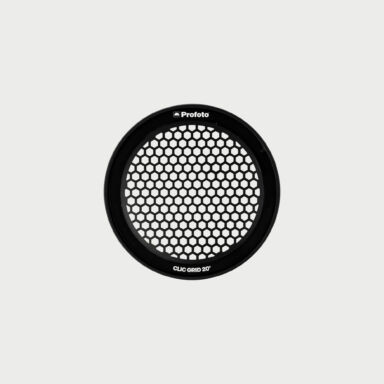
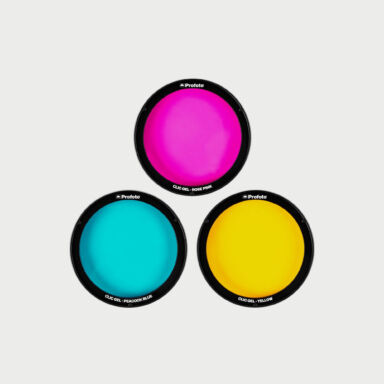
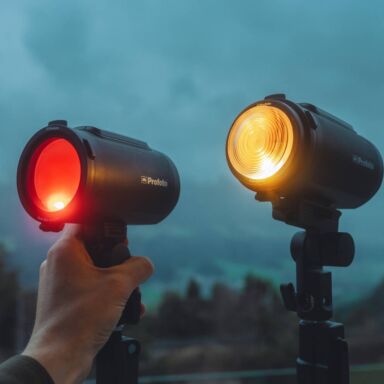
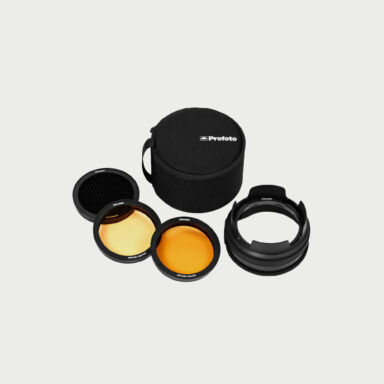
Step 2. Add two Profoto A10s equipped with a 20° Clic Grid to narrow the beam spread, and place them on either side of the rings.
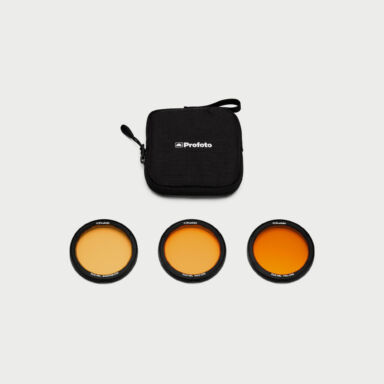
Step 3. Add another Profoto A10 as a backlight, this time with a Blue Clic Gel to create a color effect. Also attach a Blue Clic Gel filter to the A10s positioned on the sides to enhance the color effect on the image.
2. Bridal preparations
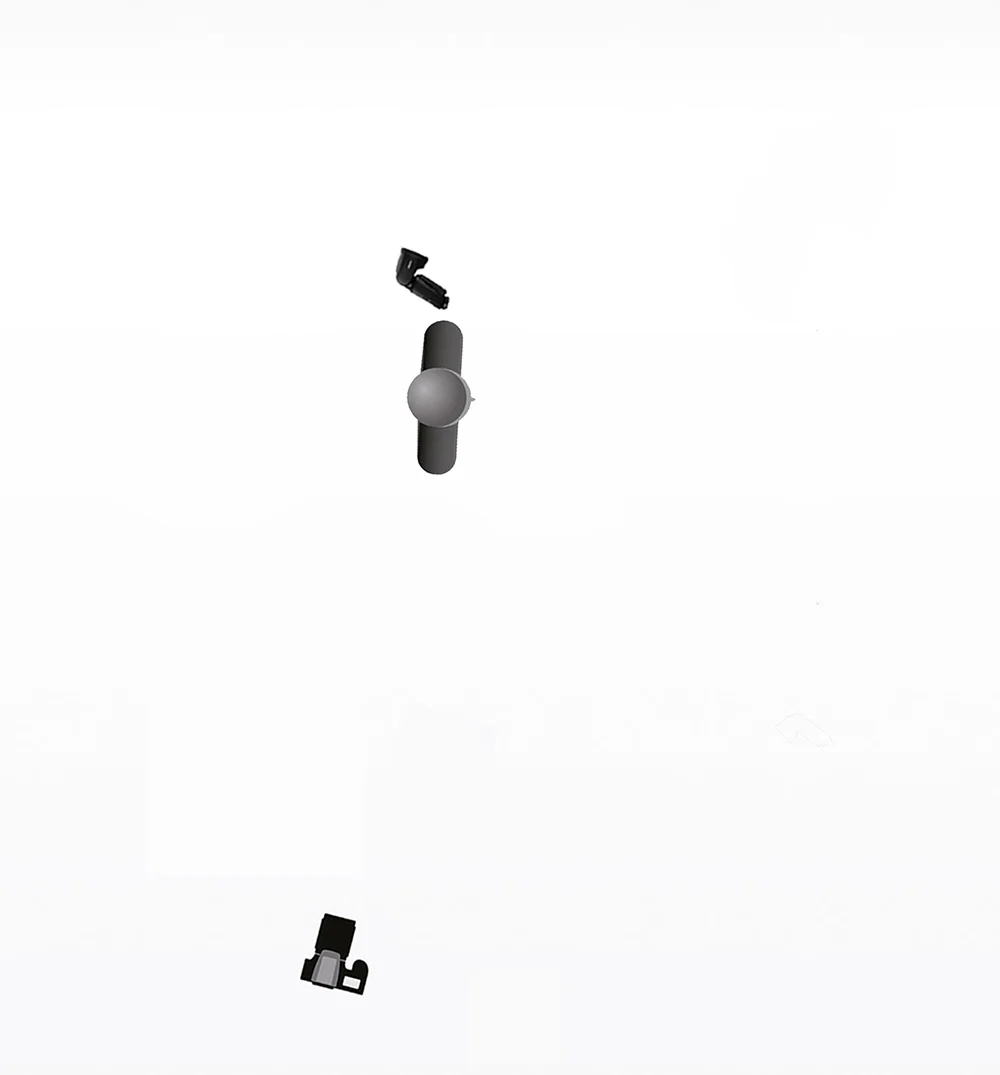
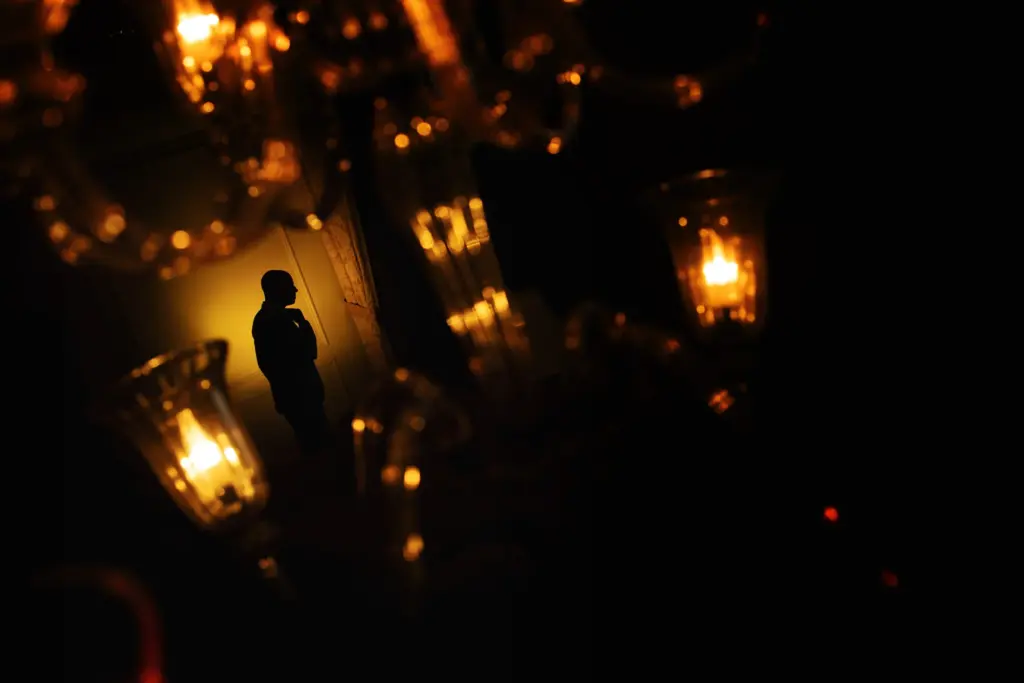
Step 1. Place the groom against a wall and ask him to hold a Profoto A10 equipped with a Clic Gel CTO, facing the wall, perpendicular to your shooting angle.
Step 2. Locate an ambient light source (in this example, a chandelier).
Step 3. Frame your subject inside this light source and take the photo.
3. The shot through the window
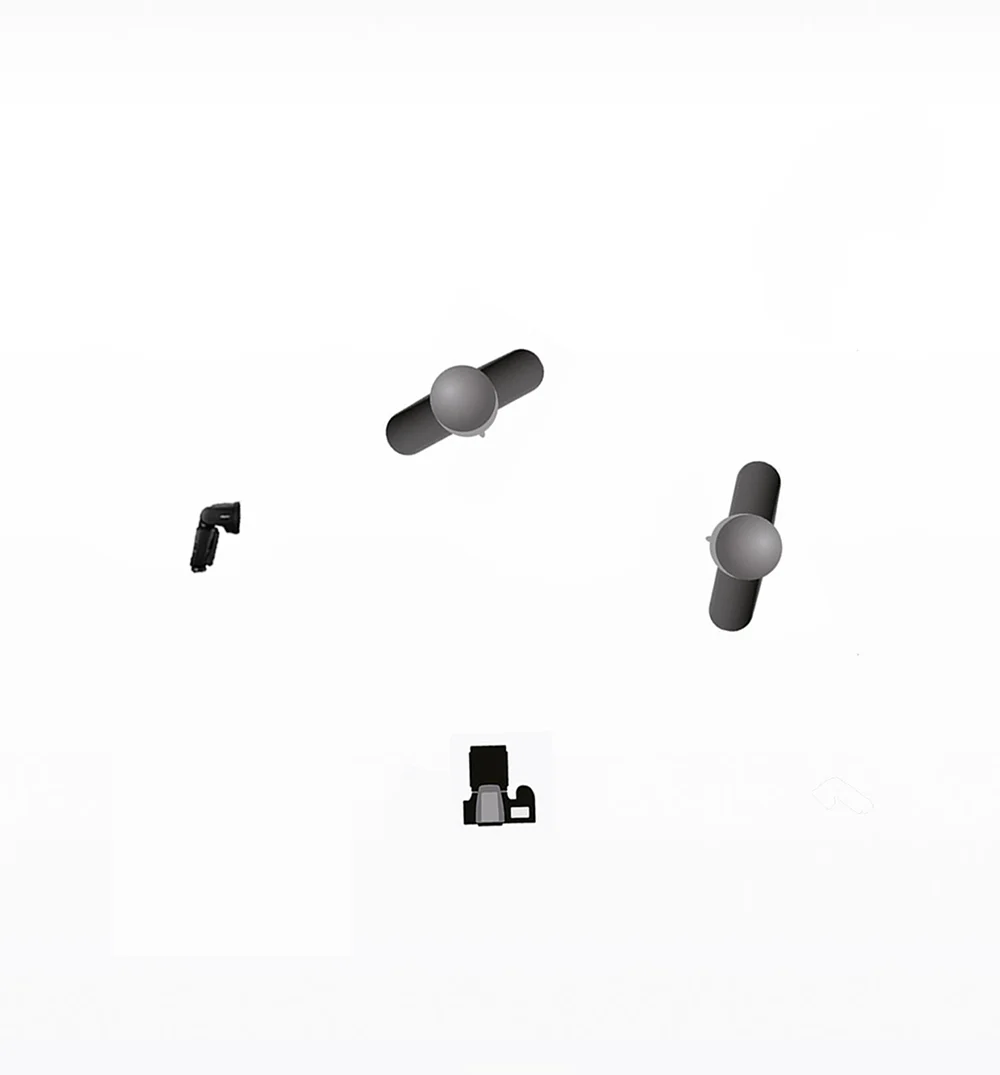
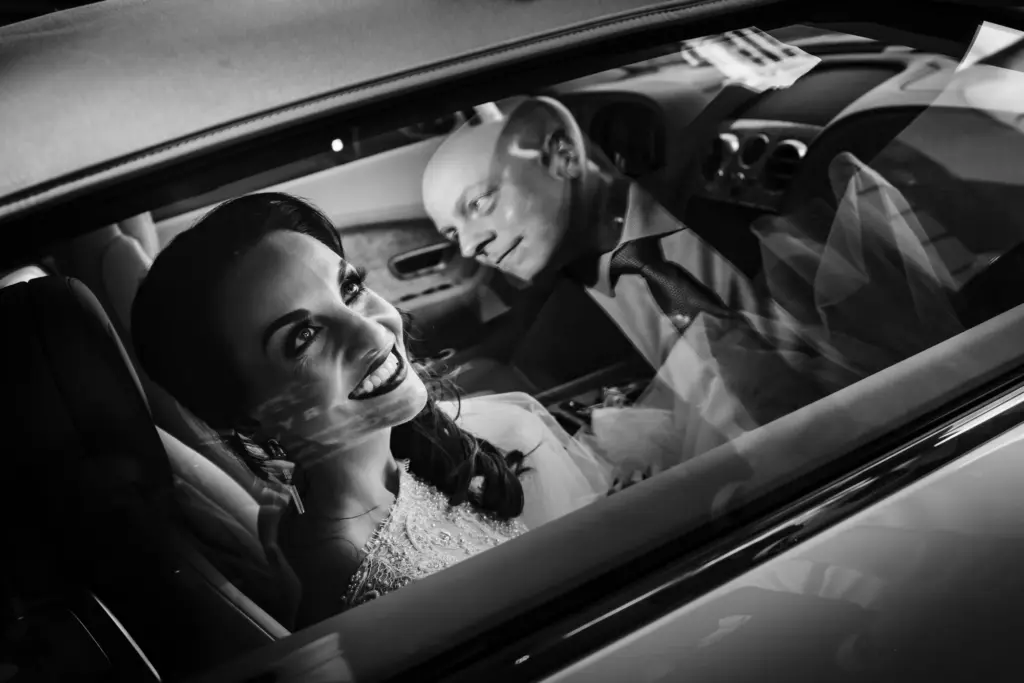
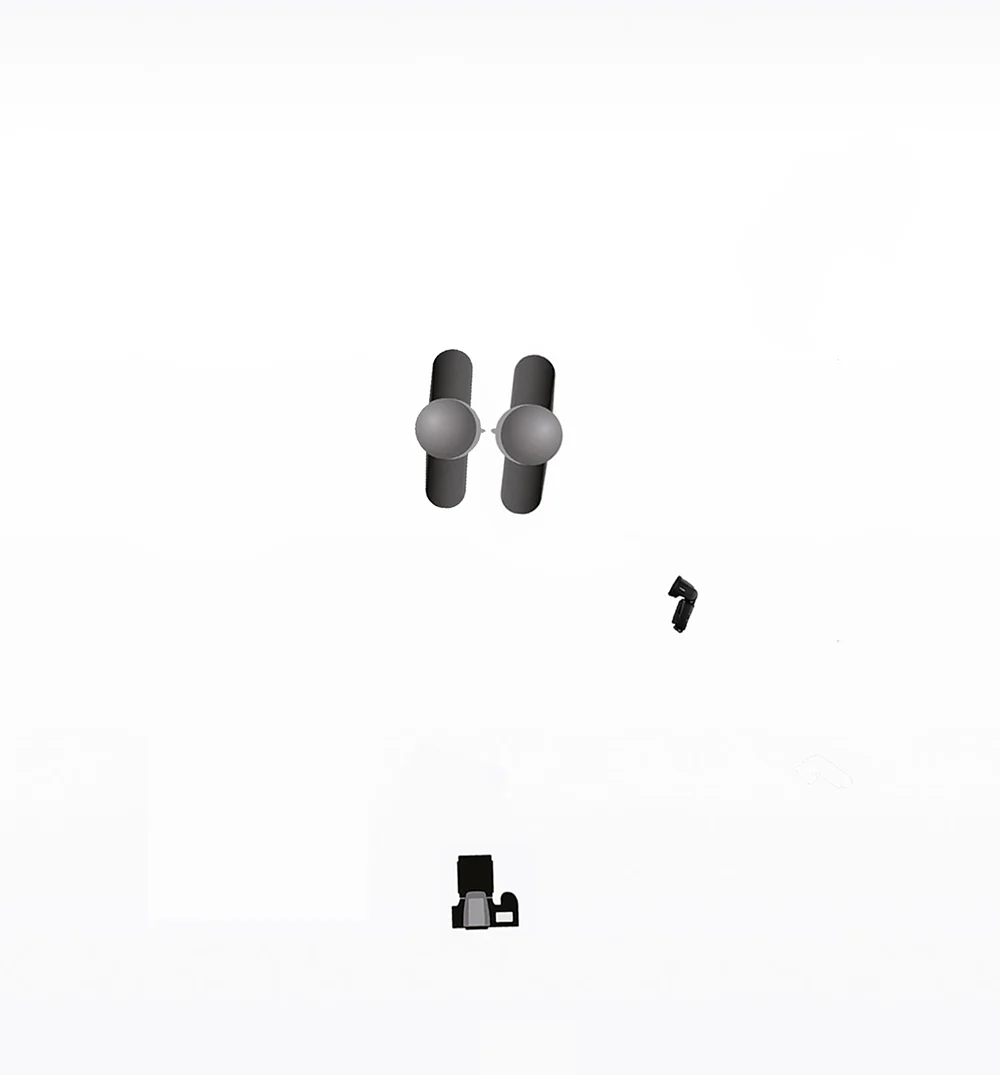
Step 1. In this image, the bride and groom are separated by a window. Place a Profoto A10 equipped with a 10° grid and point it at the groom. Make sure that the light does not shine directly onto the window.
Step 2. To adjust the intensity of the reflection, use the shutter speed to control the natural lighting. The darker you darken the exposure of the surrounding environment, the clearer your subject will appear in the reflection.
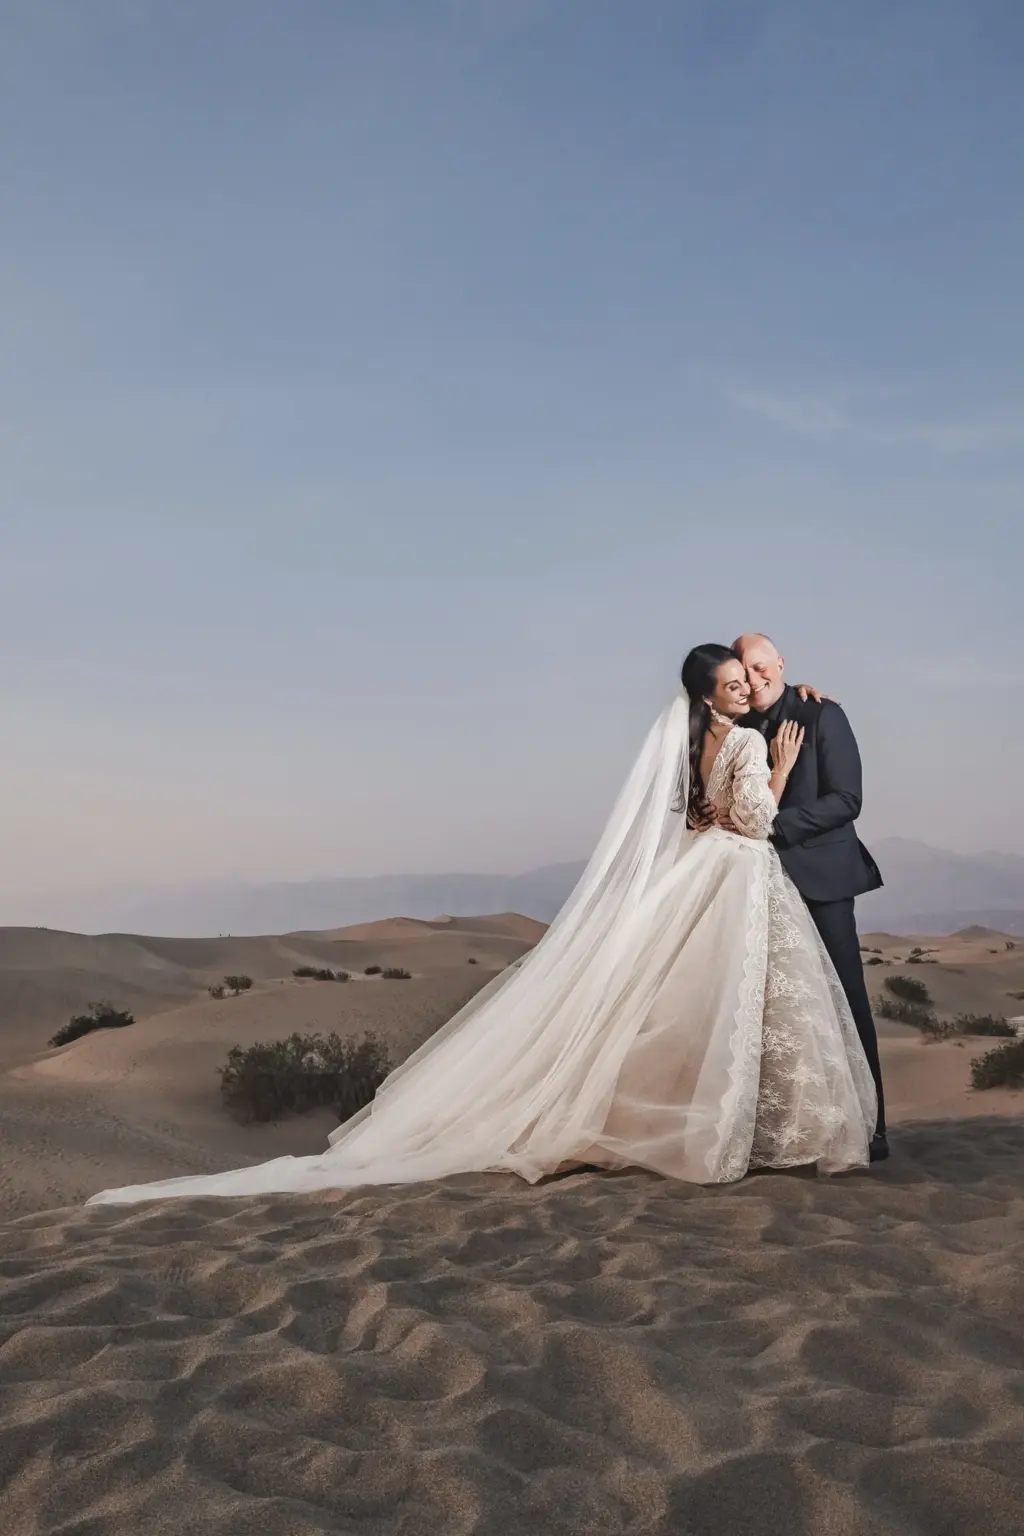
4. Outdoor portraiture
Step 1. Set your ambient exposure. For this image, we underexposed by about 2/3 stop in order to capture the blue sky.
Step 2. Use a Profoto A10 to add quick lighting to your subjects.
5. The must-have wedding shot
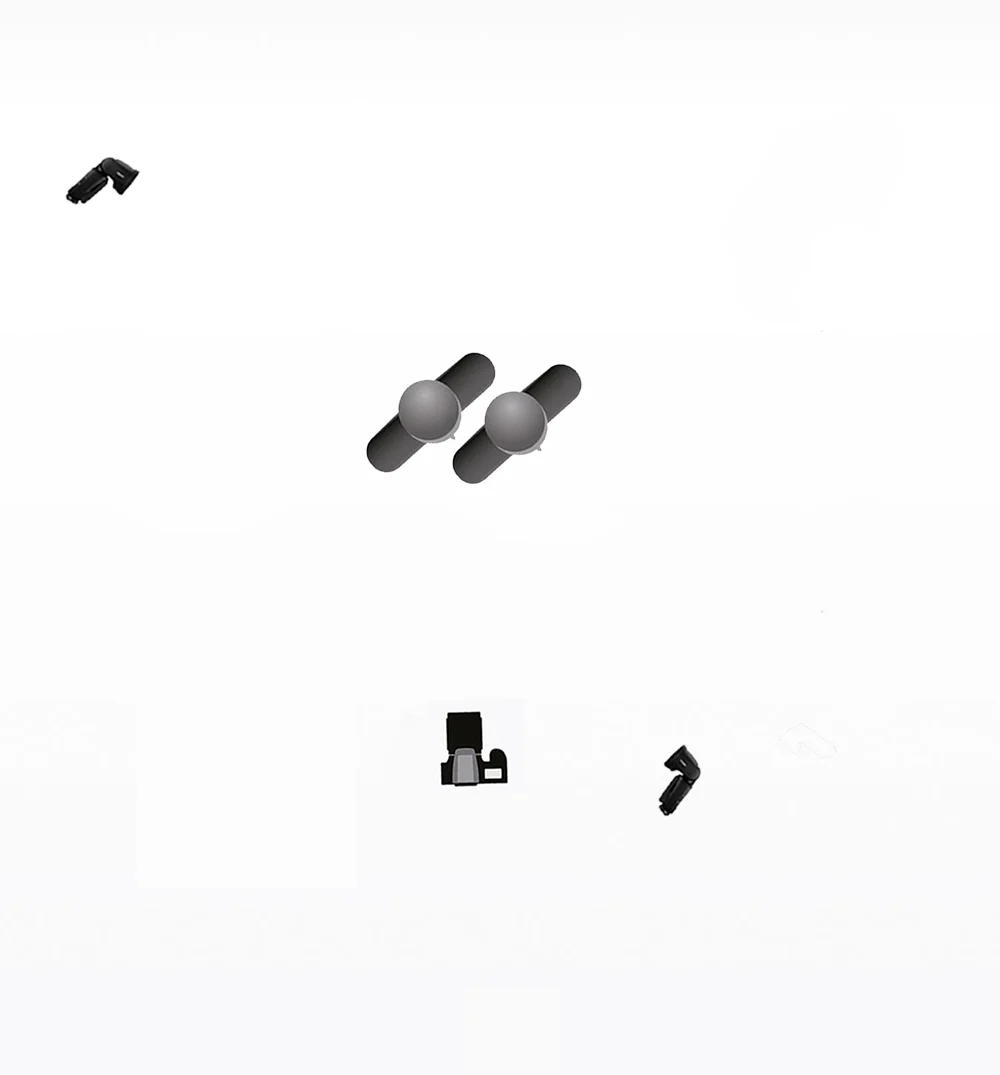
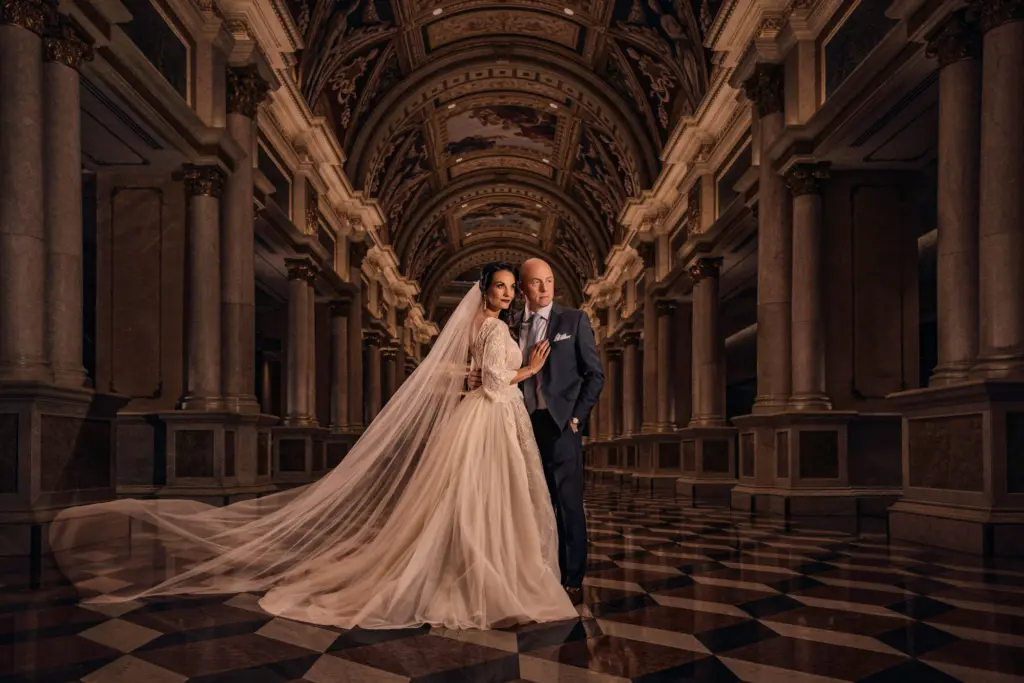
Step 1. For an image of this type, with many people in the scene, test the lighting in another location before setting up the couple. Once you’ve made the necessary adjustments, you’ll be able to take the photo quickly in the chosen location.
Step 2. Attach a Clic Grid 10° to your flashes to tighten the light beam, and a Clic Gel Full CTO to harmonize the color temperature with the ambient light in the room.
Step 3. Position your Profoto A10s out of shot: one facing the couple, the other as a backlight.
Step 4. First set your ambient exposure, then add your lighting and adjust its positioning according to the desired effect.
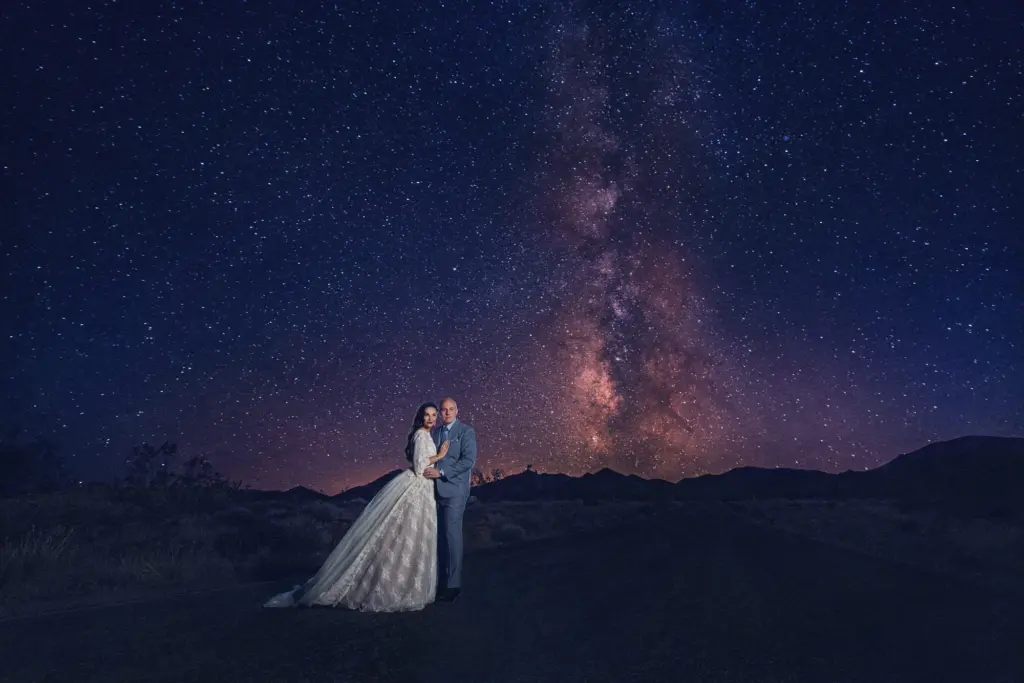
6. Night photography
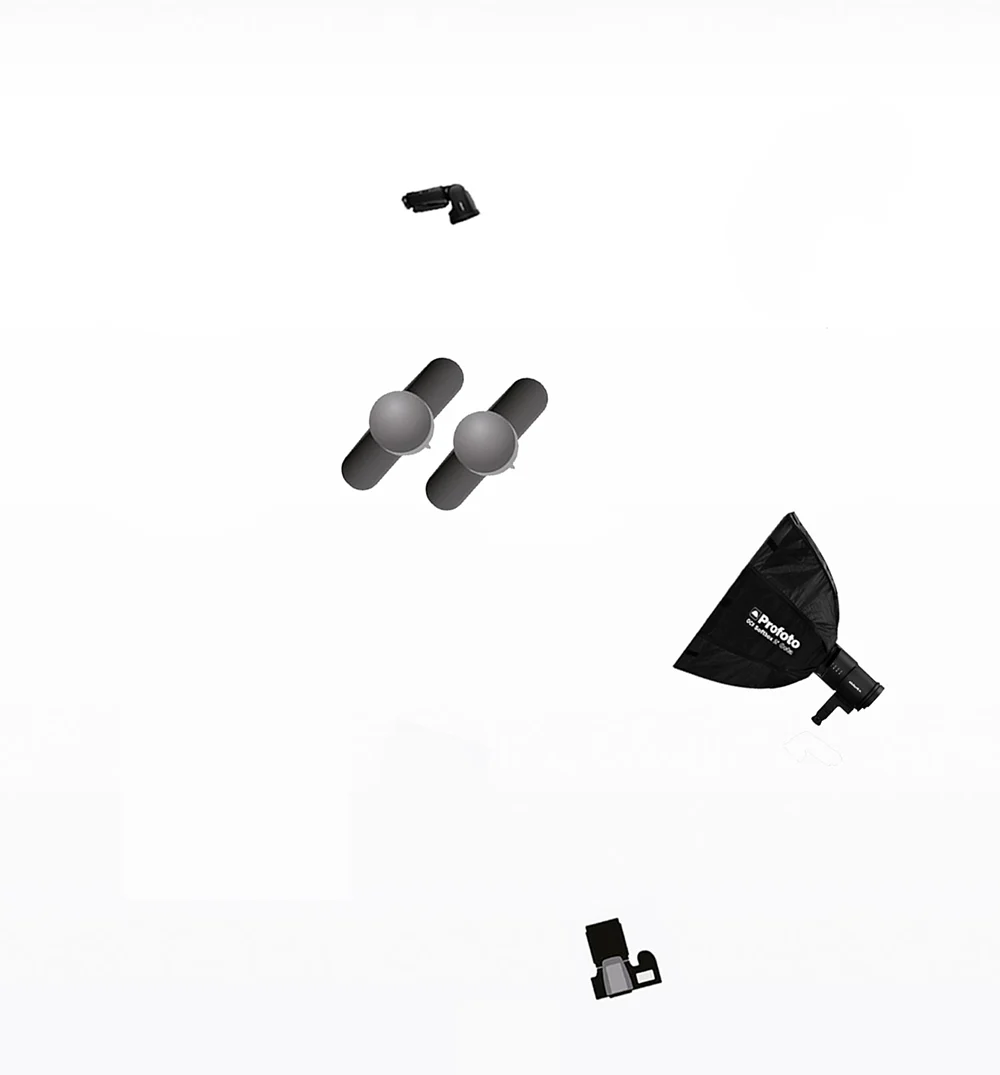
Step 1. Set up your camera on a tripod and adjust the ambient exposure.
Step 2. Place your subjects in the desired location and test your setup beforehand to avoid multiple tests.
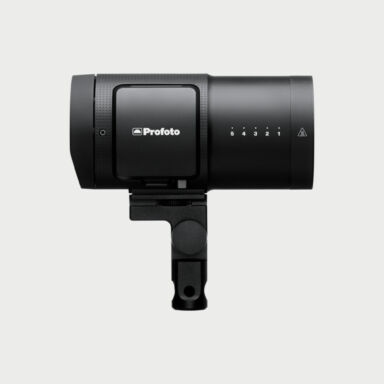
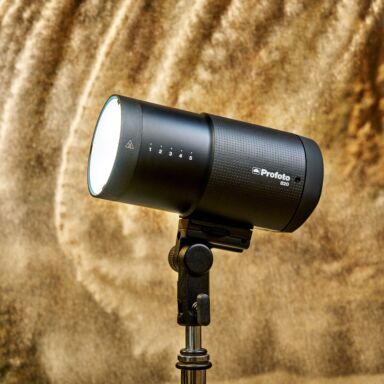
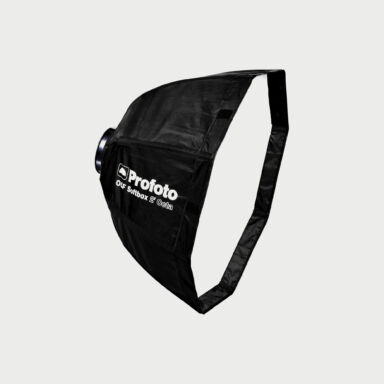
Step 3. Use a Profoto A10 (with OCF adapter) or a B20 equipped with an OCF Softbox Octa 2′ and the OCF gelatin kit (full CTO) as the main source, placed to the right of thecamera and aimed at the couple. Add a Profoto A10 with Clic Grid and full CTO gel. Using two separate sources helps limit motion blur if the couple moves slightly.
Step 4. Make your final shot. It may take several tries before you get the result you want.
Wedding photography tips
Shoot raw
Shooting in RAW offers far greater flexibility in post-production. You’ll have more scope to correct imperfect exposure, adjust white balance or fine-tune color rendition, while preserving image quality. It’s also an opportunity to make the most of your creativity without being limited by the constraints of a JPEG file.
The downside is that files are much heavier. This means you’ll need to use large-capacity memory cards and allow sufficient storage space on your hard disks.
Bring extra batteries
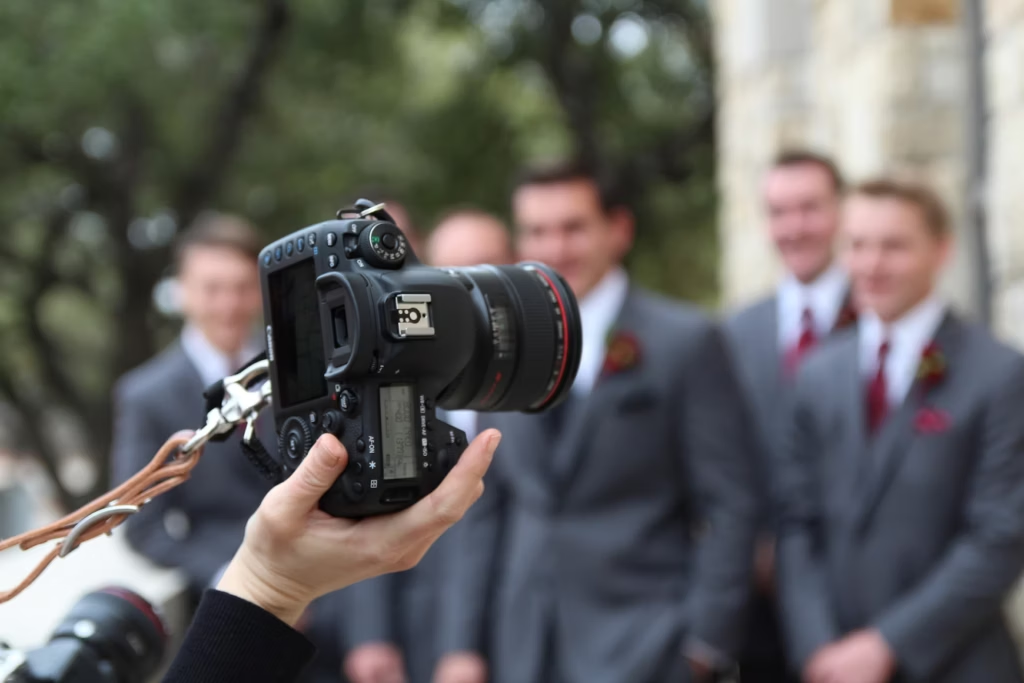
A wedding often lasts all day, and your cameras and flashes will be under heavy strain. Batteries run down quickly, especially if you shoot in bursts, in RAW or if you use the flash frequently. That’s why it’s essential to bring along several spare batteries, already charged and easily accessible.
As a wedding photographer, never rely on a single battery per camera: take at least two or three with you, and extra batteries for your flashes.
Be prepared for greater efficiency
A wedding leaves no room for improvisation. To stay efficient, it’s essential to anticipate as much as possible.
Scout the location in advance to identify lighting constraints and the best possible angles. Practise quickly changing settings and set-ups without wasting time. Test your equipment before the big day to avoid any unpleasant surprises, and make sure you’ve talked to the bride and groom to fully understand their expectations and the key moments to be covered.
Storing your images: Multiply your memory cards
File security is crucial in wedding photography. If you work with a dual-slot camera, you benefit from immediate backup on two cards. But if your camera has only one slot, your images remain vulnerable as long as they are stored on a single memory card.
To limit the risks, adopt a simple method: take along a laptop and an external hard drive to back up your full cards as soon as the wedding is over, even before you leave the venue. This way, you’ll already have two copies of your photos. Then, create a third copy on another medium as soon as you return, and keep each copy in a separate location.
Workflow and post-processing
A wedding report must remain visually consistent, even if lighting conditions vary greatly over the course of the day. Post-processing plays an essential role here.
Take the time to harmonize your series of images so that the whole retains a sense of unity, particularly in terms of colorimetry and skin tones. Correct the color dominance caused by certain artificial sources (neon lights, tungsten lamps, decorative lighting) which can alter your images.
Finally, optimize the balance between flash and ambient light to obtain a natural rendering, without burnt areas or excessive contrasts.
Conclusion: Our top tips for wedding photography
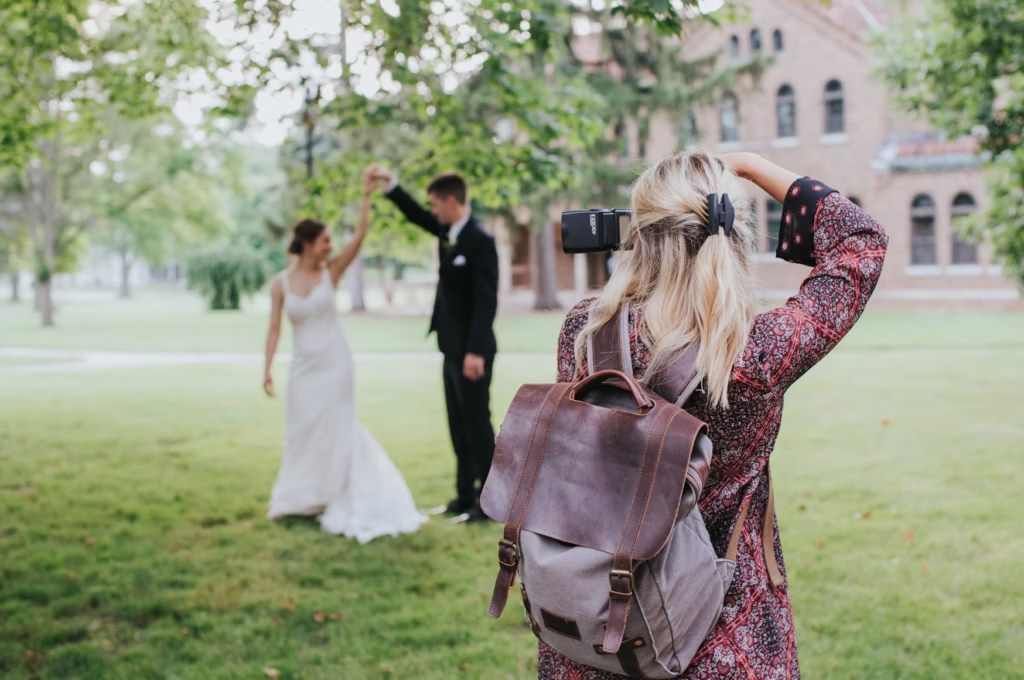
Successful wedding photography rests on three pillars: good preparation, well-mastered equipment and coherent light management. The Profoto A10 is a reliable and versatile ally that can adapt to any situation. With foresight, rigorous safeguards and well thought-out lighting, you can guarantee images that are homogeneous, natural and up to the bride and groom‘s expectations.
Beyond the technical, keep in mind that every lighting decision contributes to telling a coherent, aesthetically pleasing story. A well-thought-out setup doesn’t just solve a lighting problem: it enhances the bride and groom, their loved ones and the unique atmosphere of their day.